[title subtitle=”ORIGIN: madamcreativa.com
images: Catherine Frederick and Jeromy Price”][/title]
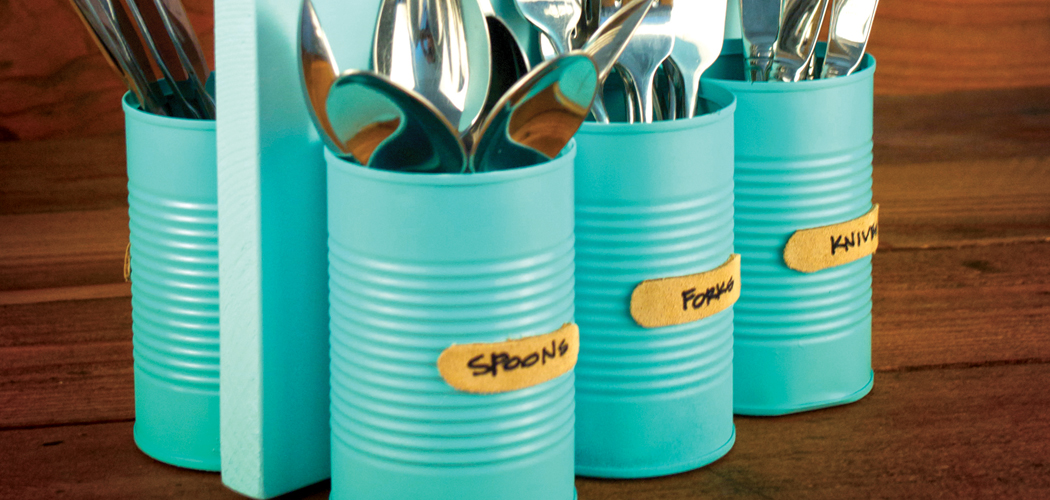
A place for everything and everything in its place. Who doesn’t love organization? I know I do. So when I came across this silverware caddy, I fell in love. Not only for its shabby style, but also for its simplicity to create. And the storage possibilities? Endless. I am already working on a beauty caddy for my college-bound step-daughter to use in her dorm room. I envision it holding everything from make-up, shampoo bottles, hairbrushes, and more — all organized and tidy. Well…a mom can dream.
[separator type=”thin”]
Materials »
Total cost under $20 (excludes * items)
- 6 Empty Vegetable / Fruit Cans
- with Pull Tab Top ( Same Sized Cans )
- Piece of Wood Cut to 9 ¾” X 1”X 6 ½”
- Sandpaper
- 1 Package Metal Pan Phillips #10 X ¾”Screws
- 1 Package Wood Flat Phillips #6 X ¾” Screws
- 1 Package #10 Lock Washers
- 1 Package #6 Lock Washers
- 1 Jar Valspar® Sample Paint
- 1 Can Valspar® Color Radiance Spray Paint
- Piece of Leather
- Super Glue®
- *Paintbrush, Scissors, Screwdriver, Hammer, Drill (Optional for Predrilling Holes)
[separator type=”thin”]
Method »
Wash cans, remove labels, let dry.
Sand wood on all sides, eliminating rough edges.
Using a paintbrush, apply two coats of Valspar paint from sample jar to the piece of wood. Allow to dry completely between coats.
Spray cans outdoors. Place on cardboard or newspaper to protect underlying surface and spray cans evenly with one coat of paint. Don’t forget to spray the interior of the cans. Allow to dry completely. Continue to apply coats of paint, allowing to dry completely between coats, until cans are evenly and thoroughly coated. Tip: Hold spray paint 6”– 8” away from cans when spraying to ensure even coverage and eliminate dripping.
If predrilling, drill holes in cans and in the top and on both sides of wood where each can will be located. Predrilling makes it easier to turn in the screws, but is optional. Tip: If you are not using a drill, use a hammer and a nail to make a hole in the side of each can as well as in the top and on sides of wood.
Using a pencil, place a mark on the wood where each can will be permanently affixed. Use the #6 screws and the #6 lock washers to affix three cans, evenly spaced and level with the bottom of the wood, to each side of the wood.
Using scissors, cut a strip of leather for the handle. The length is up to you, depending on how long a handle you prefer. Using a nail, create a small hole in each end of the leather. This is where you will place the screws. Using two #10 screws and two #10 lock washers, attach the leather to the wood, creating the handle.
Optional: Label each can using a Sharpie® and a piece of leather cut in the shape of your choice. Apply with Super Glue®.
Note: Lock washers are threaded over the ends of the screws.


